

Creamy Dal Makhani Recipe with Step by Step Pictures. Thick and creamy dal makhani made with urad dal, rajma and served with rice or roti.
 |
|
Dal Makhani |
TABLE OF CONTENTS
Dal Makhani Recipe
This is a great dish for parties because it is so rich and creamy…This is a perfect dish to make your kids eat dal, since this one don’t taste like the usual dal recipe..Dal makhani means dals cooked in butter.(since makhani means butter). But I used less butter and added some oil in this. If you want it to be very rich you could cook this entirely in butter. You could even skip the cream with milk. I hope you will make this now and tell me how it turned out.
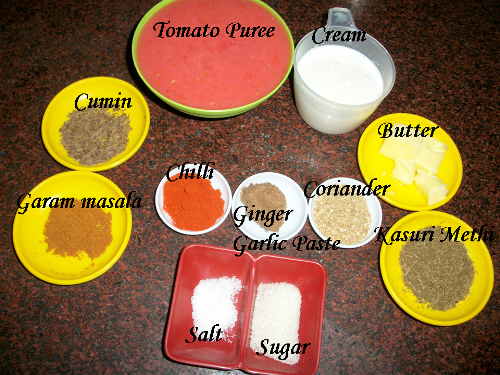
Ingredients for Dal Makhani
- Black Urad Dal-1 cup Dried Beans or use 1 can of dal
- Tomato Puree-2 cup
- Ginger Garlic Paste-1 tblspn
- Cumin seeds / Jeera – 1 tsp
- Chilli powder-2 tsp
- Coriander powder / Malli podi-1 tblspn
- Garam masala powder-1 tsp
- Kasuri Methi leaves(Dried Fenugreek leaves)-1 tblspn
- Heavy Cream-3 tblspn
- Salt to taste
- Sugar-1 tsp
- Butter-2 tblspn
- Oil-1 tblspn
How to Make Dal Makhani Recipe
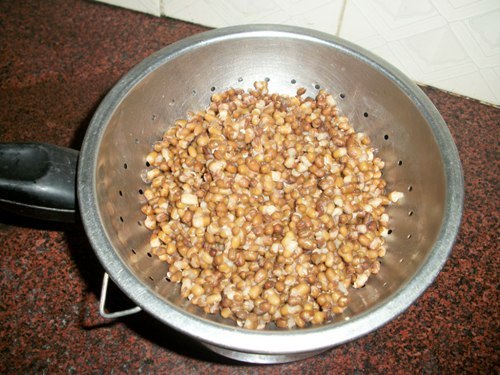
- Wash urad dal in lots of water. Soak this over night.Drain it and pressure cook with a little bit of salt for 3 whistles and simmer it for 20 min. Drain it and keep it aside.
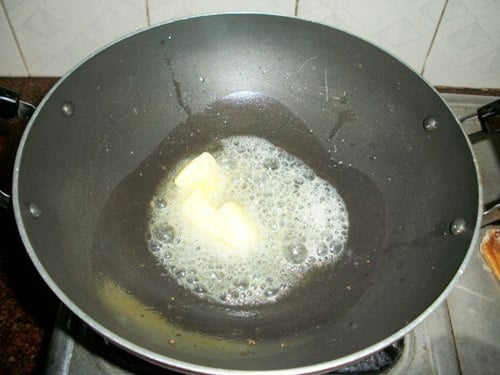
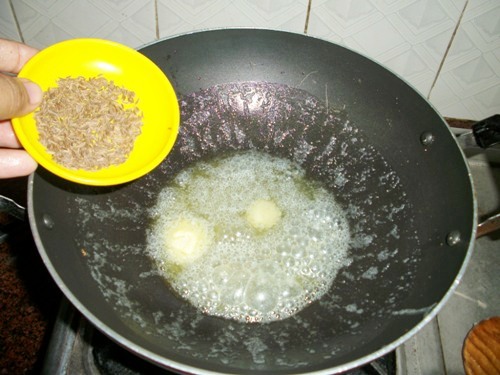
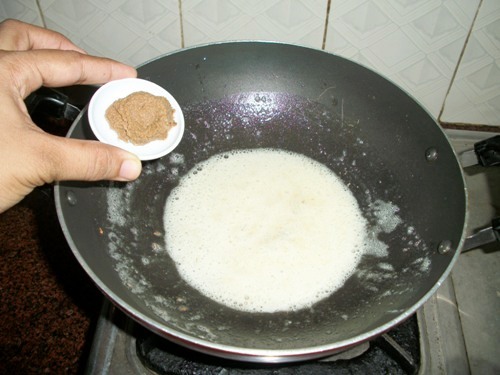
- Heat oil and butter in kadai and crackle some cumin seeds.
- Add in ginger garlic paste and sauté for 30 sec.
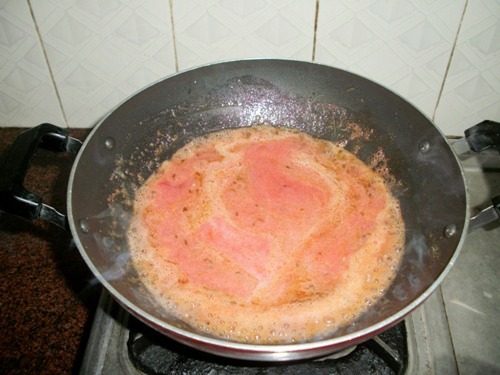
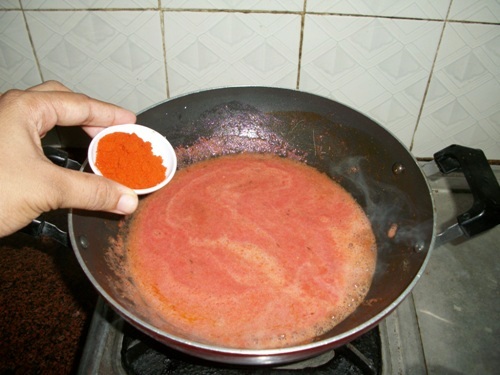
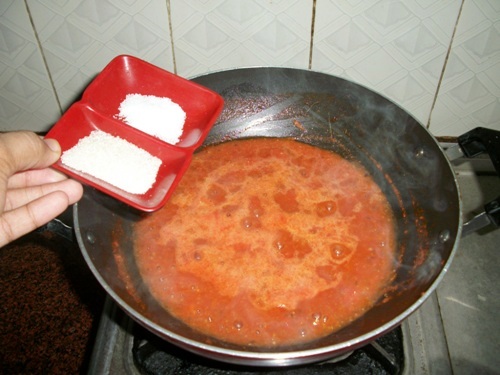
- Pour in tomato puree and mix well. Throw in red chilli powder, coriander powder, salt, sugar and cook this for 5-7 min.
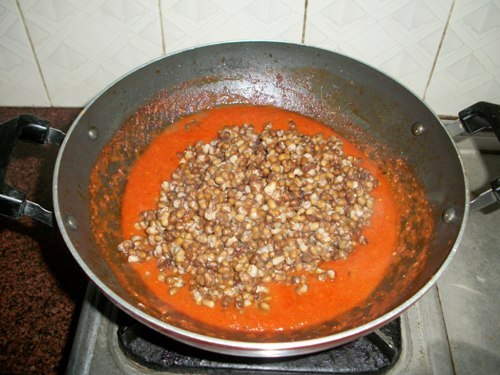
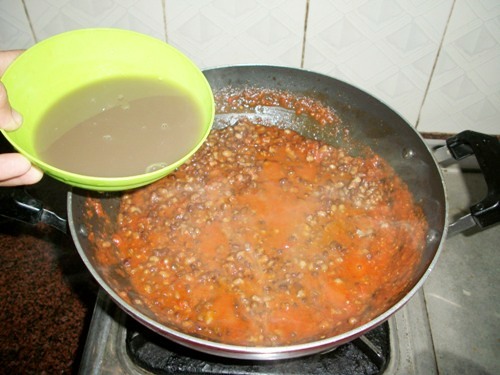
- Add in the drained beans and some of the cooking water and mix well.
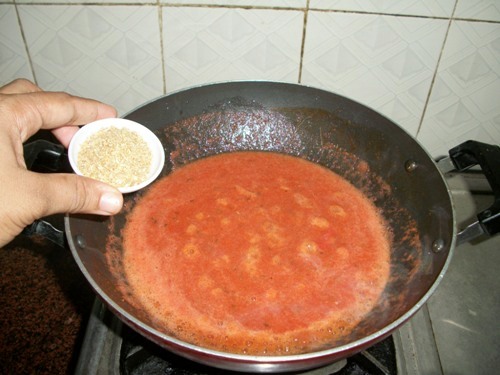
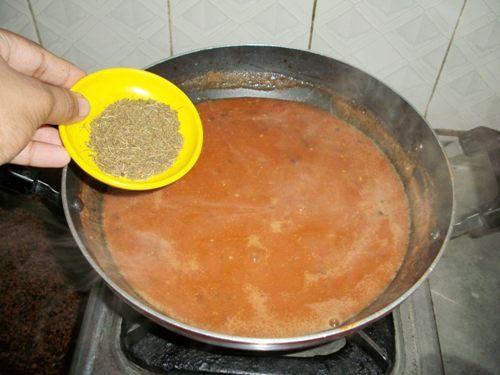
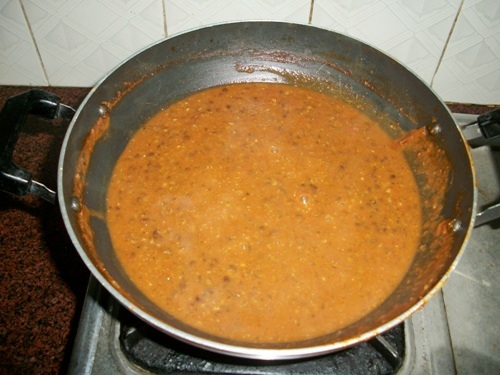
- Sprinkle in kasuri methi leaves, garam masala powder and mix well.Simmer this for 5-10 min on a slow flame.
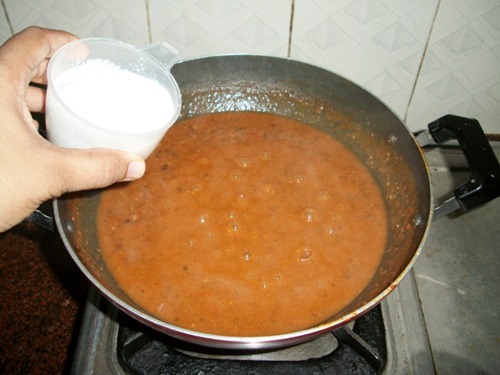
- Finish the curry with heavy cream and mix well.
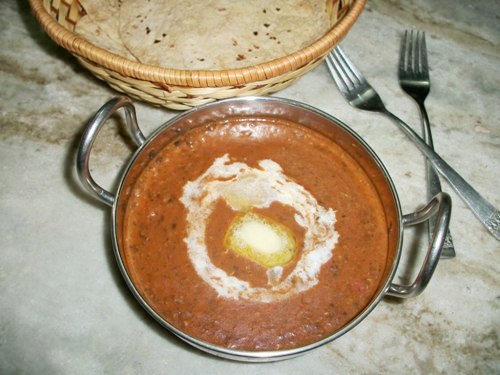
- Serve hot with rice or roti.

Dal Makhani Recipe
Creamy Dal Makhani Recipe with Step by Step Pictures. Thick and creamy dal makhani made with urad dal, rajma and served with rice or roti.
#wprm-recipe-user-rating-0 .wprm-rating-star.wprm-rating-star-full svg * { fill: #5A822B; }#wprm-recipe-user-rating-0 .wprm-rating-star.wprm-rating-star-33 svg * { fill: url(#wprm-recipe-user-rating-0-33); }#wprm-recipe-user-rating-0 .wprm-rating-star.wprm-rating-star-50 svg * { fill: url(#wprm-recipe-user-rating-0-50); }#wprm-recipe-user-rating-0 .wprm-rating-star.wprm-rating-star-66 svg * { fill: url(#wprm-recipe-user-rating-0-66); }linearGradient#wprm-recipe-user-rating-0-33 stop { stop-color: #5A822B; }linearGradient#wprm-recipe-user-rating-0-50 stop { stop-color: #5A822B; }linearGradient#wprm-recipe-user-rating-0-66 stop { stop-color: #5A822B; }
Ingredients
Instructions

About Aarthi
Reader Interactions
Source: Yummy Tummy