

Red Velvet Crinkle Cookies with step by step pictures. This cookies taste amazing with a cup of milk.
TABLE OF CONTENTS
Red Velvet Crinkles
Crinkle cookies is one of my favourite. I love the way it looks and turns out once it bakes. I have already shared a chocolate crinkle recipe here, this is a red velvet crinkle cookies recipe.
Similar Recipes,
Sprinkle Cookies
Monster Cookies without Flour
Cornflakes Cookies
Chocolate Fudge Cookies
Coloured Ghee Cookies
Glazed Chocolate Cookies
This is great for this time of the year. And it is pretty easy to make as well. So try this out..
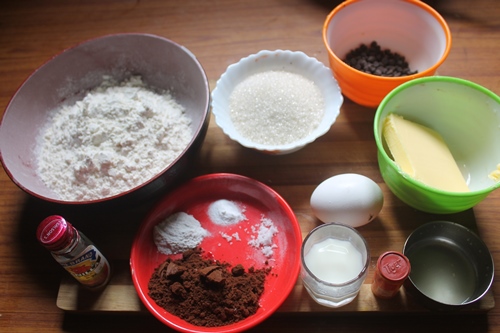
Red Velvet Crinkles Ingredients
All Purpose Flour / Maida
Cocoa Powder
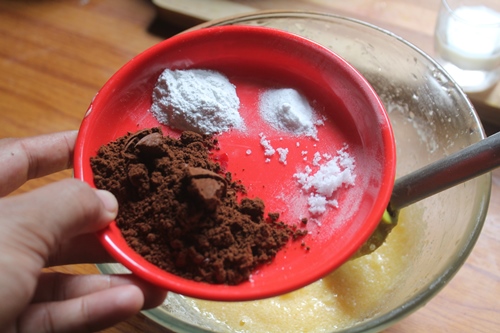
Baking Powder
Baking Soda / Cooking Soda
Salt a pinch
Egg
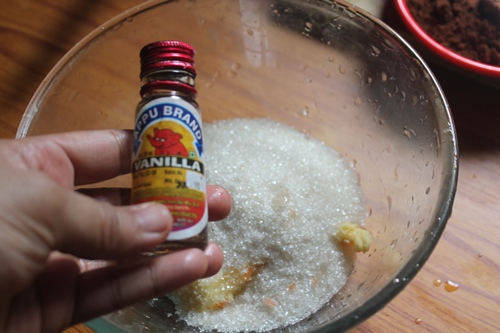
Vanilla Essence
Sugar
Chocolate Chips
Unsalted Butter
Lemon Juice
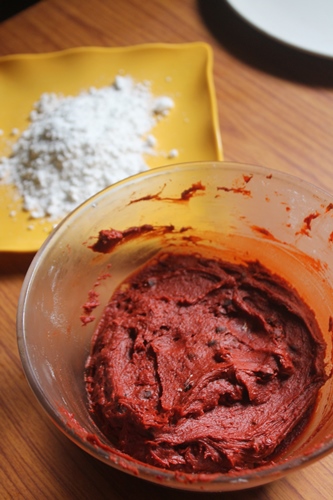
Powdered Sugar / Icing Sugar
Red Food Colouring as you needed
Milk
Hope you will give this a try and let me know how it turns out for you..
Red Velvet Crinkles Preparation
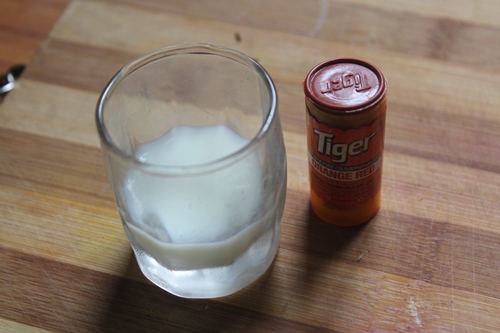
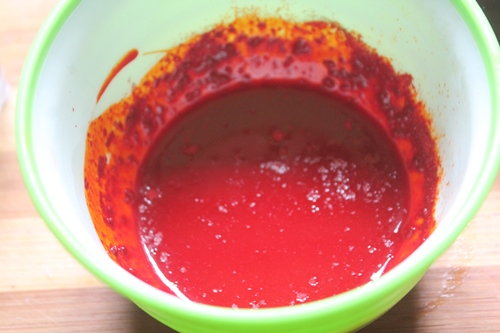
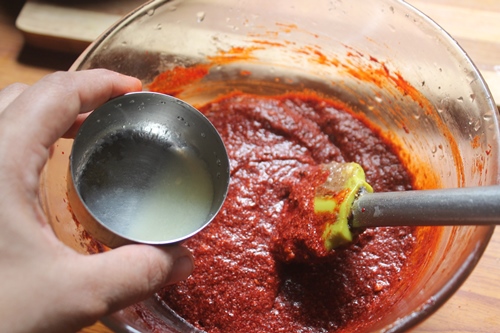
- Take red food colouring and milk in a bowl and mix well. Set aside.
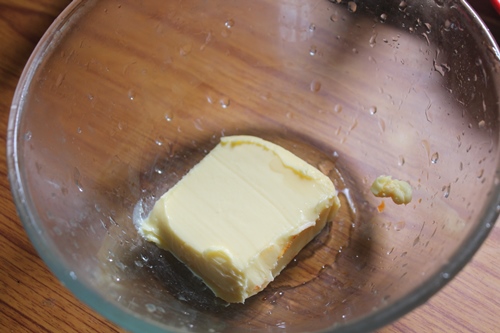
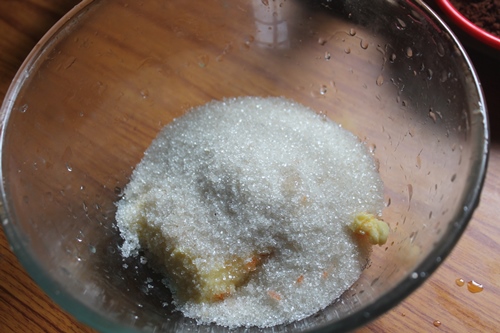
- Now take butter, sugar and vanilla in a bowl and cream well.
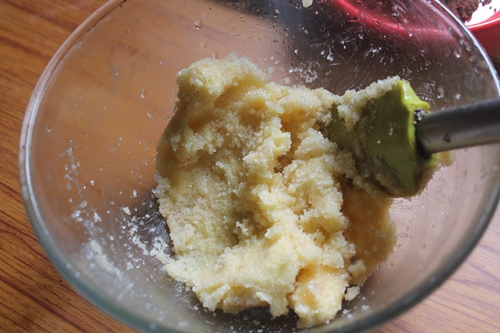
- egg and whisk till creamy.
- Add in baking powder, baking soda and salt and mix well.
- Add in cocoa powder and the red food colour and mix well.
- Fold in the chocolate chips and mix well.
- Add in flour and mix well.
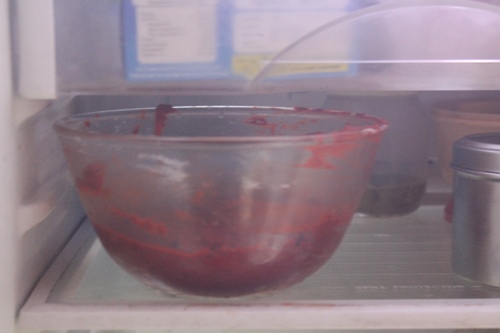
- Now cover the bowl with a plastic wrap and chill in fridge for 1 to 2 hour.
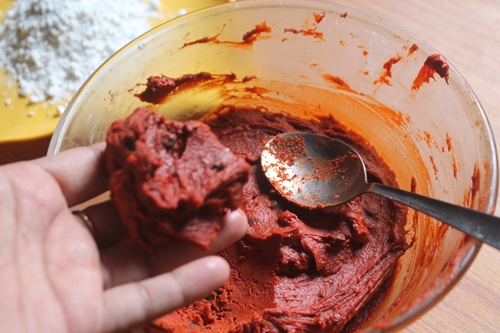
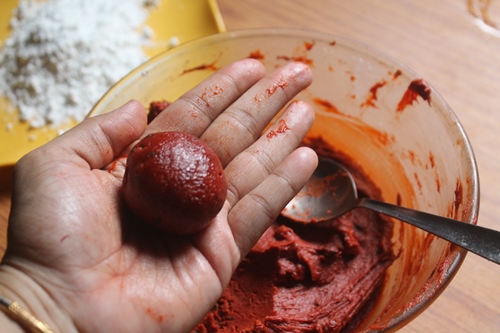
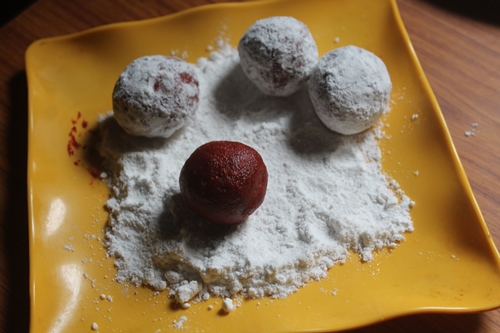
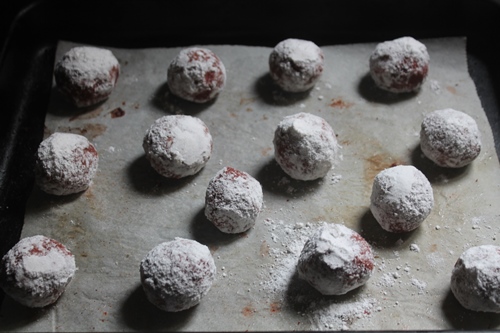
Preheat oven to 180 degree C / 350 degree F. - Remove from fridge and take 2 tblspn of dough and roll it into a ball. Now roll the ball in powdered sugar and arrange it in a parchment lined baking pan.
- Pop this in oven and bake for 12 to 13 mins.
- Remove from oven and let it cool down.
- Now remove on to a cooling rack and cool completely.
- Serve.
Red Velvet Crinkles with Step by Step Pictures


Red Velvet Crinkles Recipe | Red Velvet Crinkle Cookies Recipe
Red Velvet Crinkle Cookies with step by step pictures. This cookies taste amazing with a cup of milk.
#wprm-recipe-user-rating-0 .wprm-rating-star.wprm-rating-star-full svg * { fill: #5A822B; }#wprm-recipe-user-rating-0 .wprm-rating-star.wprm-rating-star-33 svg * { fill: url(#wprm-recipe-user-rating-0-33); }#wprm-recipe-user-rating-0 .wprm-rating-star.wprm-rating-star-50 svg * { fill: url(#wprm-recipe-user-rating-0-50); }#wprm-recipe-user-rating-0 .wprm-rating-star.wprm-rating-star-66 svg * { fill: url(#wprm-recipe-user-rating-0-66); }linearGradient#wprm-recipe-user-rating-0-33 stop { stop-color: #5A822B; }linearGradient#wprm-recipe-user-rating-0-50 stop { stop-color: #5A822B; }linearGradient#wprm-recipe-user-rating-0-66 stop { stop-color: #5A822B; }
Ingredients
Instructions
If you have any questions not covered in this post and if you need help, leave me a comment or mail me @[email protected] and I’ll help as soon as I can.
Follow me on Instagram, Facebook,Pinterest ,Youtube and Twitter for more Yummy Tummy inspiration.
IF YOU MAKE THIS RECIPE OR ANYTHING FROM YUMMY TUMMY, MAKE SURE TO POST IT AND TAG ME SO I CAN SEE ALL OF YOUR CREATIONS!! #YUMMYTUMMYAARTHI AND @YUMMYTUMMYAARTHI ON INSTAGRAM!
About Aarthi
Reader Interactions
Source: Yummy Tummy